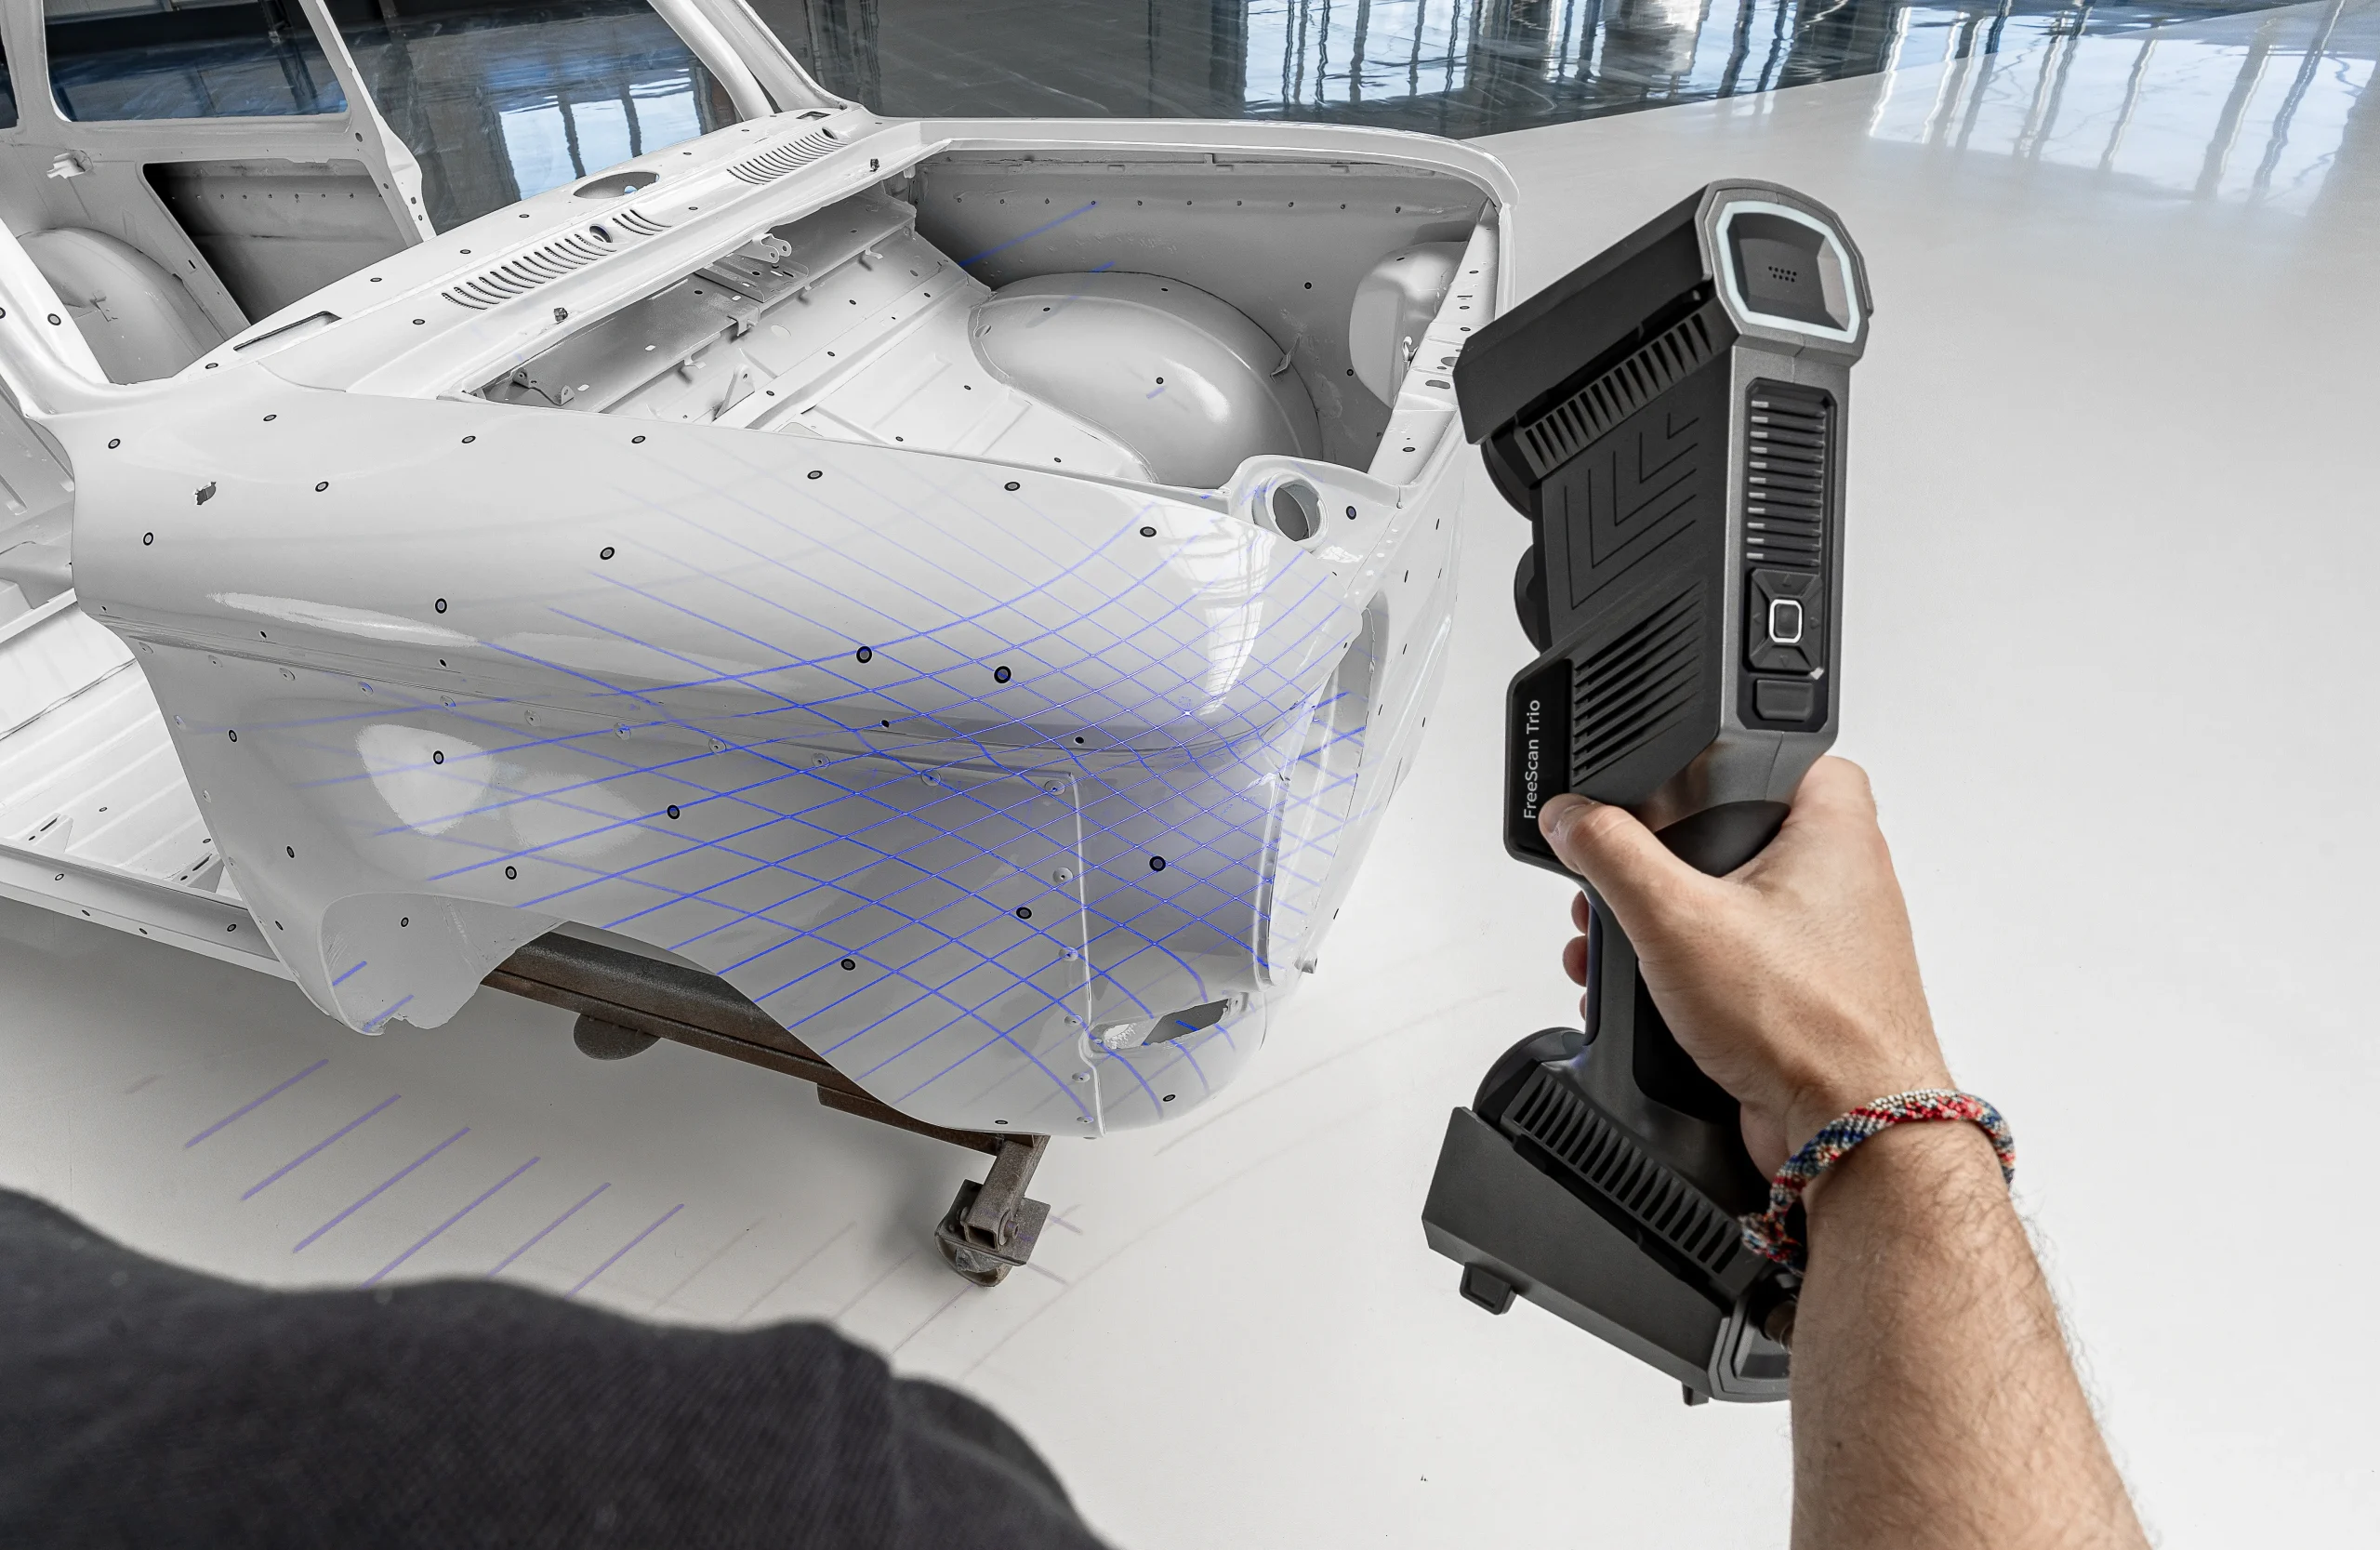
Three dimensional scanning can bring digital manufacturing concepts into the classroom by connecting physical objects with digital models. Instead of learning only through theoretical explanations, students can explore how real world objects are captured, processed, modified, and transformed into useful digital information.
EINSTAR 3D scanning solutions can support educational environments where students and instructors explore three dimensional scanning, digital modeling, 3D printing, personal manufacturing, engineering, design, and related technologies.
A hands on scanning project can introduce students to an entire digital workflow. They can begin with a physical object, capture its geometry, process the resulting scan, make changes to the digital model, and potentially prepare it for 3D printing or another digital application.
Step 1: Define the Learning Objective
Before introducing a scanning project, educators should determine what students are expected to learn.
The objective could involve understanding three dimensional geometry, learning how scanning works, exploring digital modeling, preparing a model for 3D printing, or understanding a physical to digital workflow.
A clear objective helps determine the most suitable project.
Step 2: Introduce Three Dimensional Scanning
Students should first understand the basic concept of 3D scanning.
A scanner captures information about the geometry of a physical object and converts that information into digital data.
The digital information can then be processed using compatible software.
This provides a simple connection between the physical world and digital design.
Step 3: Explain the Digital Manufacturing Workflow
Students can learn how scanning fits into a broader digital manufacturing process.
A basic workflow can involve a physical object, 3D scanning, data processing, digital modeling, file preparation, and manufacturing.
This helps students understand that scanning is one stage of a larger process.
Step 4: Select an Appropriate Educational Object
Choose an object that is suitable for the students’ experience level.
Simple objects with recognizable geometry can make useful introductory projects.
As students become more familiar with scanning, educators can introduce objects with more complex shapes and surfaces.
Step 5: Prepare the Scanning Environment
Create a stable and organized workspace.
The object should be positioned securely, and students should have sufficient space to work with the scanning equipment.
An organized environment can make it easier for students to concentrate on the scanning process.
Step 6: Introduce the Scanner
Educators can explain the basic components and workflow of the selected scanning system.
Students should understand how the scanner is positioned, how the object is captured, and how scan information is displayed.
The exact procedure depends on the scanning equipment and software being used.
Step 7: Demonstrate the Scanning Process
Before students begin their own projects, instructors can demonstrate a complete scanning session.
The demonstration can show how to position the object, move the scanner, monitor the captured information, and identify areas that require additional scanning.
A complete demonstration gives students a practical reference.
Step 8: Plan the Scanning Path
Students can identify the surfaces that need to be captured before starting.
They can consider how the object should be approached from different directions.
Planning encourages students to think about geometry and scanning coverage rather than simply moving the scanner randomly. EINSTAR handheld 3d scanner provides a flexible option for users who need to capture different objects using a handheld scanning approach.
Step 9: Begin Capturing the Object
Students can start the scanning process after the object and equipment are prepared.
They should follow the recommended scanning workflow and monitor the digital information being captured.
The objective is to create a useful representation of the object’s geometry.
Step 10: Capture Different Surfaces
Many objects cannot be completely represented from one scanning position.
Students can capture different sides and surfaces as required.
This teaches the importance of viewing an object from multiple perspectives.
Step 11: Monitor the Scan Data
Students should review the captured data during scanning.
If an important surface appears incomplete, another scan can be performed.
This introduces students to the concept of reviewing digital data while a project is still in progress.
Step 12: Complete the Physical Capture
The scanning process can continue until the required geometry has been captured.
The amount of scanning needed depends on the object’s shape and the learning objective.
Students can compare different scanning strategies and observe how they influence the resulting model.
Step 13: Review the Digital Model
Once scanning is complete, students can inspect the digital representation.
They can look for missing surfaces, unwanted information, or areas that may need additional processing.
This provides an opportunity to discuss the difference between raw scan data and a finished digital model.
Step 14: Process the Scan Data
Students can use compatible software to process the captured information.
Depending on the software, this may involve alignment, cleanup, model generation, and other processing steps.
Educators can explain why raw scan data may require additional work.
Step 15: Align Multiple Scans
If students captured the object from several positions, the separate scan information may need to be aligned.
The software can combine different views into a more complete digital representation.
This can teach students how multiple pieces of digital information can be combined.
Step 16: Remove Unwanted Data
Scanning can capture information that does not belong to the object.
Students can learn how to identify and remove unwanted areas using suitable software.
This introduces basic digital cleanup concepts.
Step 17: Refine the Digital Model
Students can explore how the scanned model can be improved or modified.
Depending on the educational level, this can involve basic mesh editing or more advanced digital modeling.
The objective can be adapted to the students’ existing knowledge.
Step 18: Compare Physical and Digital Objects
Students can compare the original object with the digital representation.
They can examine differences in shape, missing features, and overall geometry.
This creates a practical way to understand how physical objects are represented digitally.
Step 19: Introduce Digital Modeling
After students understand scanning, educators can introduce digital modeling.
Students can learn that scanning captures an existing object, while modeling can create or modify digital geometry.
Combining the two concepts can broaden their understanding of digital design.
Step 20: Modify the Scanned Model
Students can experiment with suitable modifications.
They may add features, change selected areas, or develop a customized version of the scanned object.
This turns scanning into an active design exercise.
Step 21: Introduce 3D Printing
A scanned and processed model can become an example for teaching 3D printing.
Students can learn how a digital model is prepared before it can be manufactured.
This demonstrates the connection between digital information and physical production.
Step 22: Prepare the Model for Printing
Students can export the digital model into a suitable format supported by their printing workflow.
The model may require additional preparation before it is sent to slicing software.
Educators can explain why file compatibility is important.
Step 23: Introduce Slicing
Slicing software converts a three dimensional model into instructions for a 3D printer.
Students can learn how digital geometry becomes a set of manufacturing instructions.
This introduces another important stage of additive manufacturing.
Step 24: Produce the Printed Object
If suitable equipment is available, students can use the prepared model in a 3D printing workflow.
The printed object can then be compared with the original physical object and digital model.
This completes the physical to digital to physical learning cycle.
Step 25: Compare Results
Students can evaluate the original object, scanned model, and printed result.
They can discuss differences in geometry, detail, and appearance.
This provides an opportunity to connect scanning accuracy, digital processing, and manufacturing results.
Step 26: Explore Engineering Applications
Once students understand the basic workflow, educators can introduce engineering applications.
Students can explore how physical components can become digital references for product development, prototyping, and design.
This can connect classroom activities with professional engineering workflows.
Step 27: Explore Product Development
Students can use scanning as a starting point for a product development exercise.
They can scan an existing object, identify opportunities for improvement, and develop a modified digital design.
This encourages practical problem solving and design thinking.
Step 28: Explore Personal Manufacturing
Personal manufacturing can provide another educational application.
Students can learn how digital tools allow individuals to create customized physical objects.
Scanning can provide the initial digital reference, while modeling and 3D printing can support the final result.
Step 29: Explore Automotive Applications
Automotive components can provide interesting examples for advanced students.
Students can examine how complex physical parts can be scanned and represented digitally.
This can introduce concepts related to automotive design, engineering, customization, and manufacturing.
Step 30: Discuss Scan Accuracy
Educators can introduce the concept of scanning accuracy.
Students can learn that a digital model is a representation of a physical object and that the level of accuracy depends on the equipment, scanning process, object characteristics, and processing workflow.
This provides a foundation for understanding technical specifications.
Step 31: Discuss Resolution
Resolution can be introduced by examining how much detail is represented in the digital model.
Students can compare simple and detailed objects and observe how different features appear in scan data.
This creates a practical way to discuss digital representation.
Step 32: Explore Surface Characteristics
Different materials and surfaces can behave differently during scanning.
Students can examine how color, texture, reflectivity, transparency, and geometry may influence capture.
This can encourage experimentation and observation.
Step 33: Teach File Formats
Students can learn that digital models can be stored in different file formats.
Formats such as STL, OBJ, PLY, and 3MF may appear in scanning and 3D printing workflows.
The instructor can explain why different formats are used for different stages of digital manufacturing.
Step 34: Introduce Software Workflows
Students can explore how different software applications support different tasks.
Scanning software can support data capture and processing.
Modeling software can support digital design.
Slicing software can prepare models for 3D printing.
Understanding these roles helps students see how multiple tools can work together.
Step 35: Encourage Team Projects
3D scanning can be suitable for collaborative educational activities.
Students can divide responsibilities between object preparation, scanning, data processing, modeling, and presentation.
This can help develop technical and communication skills.
Step 36: Document the Learning Process
Students can document each stage of their project.
They can record the original object, scanning process, digital processing, model development, and final result.
This creates a useful record of the learning experience.
Step 37: Evaluate the Final Project
Educators can evaluate projects based on both the process and final result.
Students can explain how they captured the object, processed the data, and developed the final digital model.
This can help demonstrate their understanding of the complete workflow.
Educational Benefits of 3D Scanning
Three dimensional scanning can provide several educational benefits.
It creates hands on opportunities to explore digital technology.
It connects physical objects with digital models.
It introduces students to modern manufacturing concepts.
It supports practical experimentation.
It can encourage problem solving and design thinking.
It can also provide a foundation for exploring engineering, product development, and 3D printing.
3D Scanning and STEM Education
Scanning can contribute to science, technology, engineering, and mathematics education.
Students can explore geometry through physical objects.
They can learn how technology captures spatial information.
They can examine engineering concepts through real components.
They can also develop practical experience with digital manufacturing.
Supporting Different Skill Levels
A scanning curriculum can be adapted to different levels of experience.
Beginners can start with simple objects and basic scanning exercises.
Intermediate students can explore model editing and 3D printing.
Advanced students can investigate engineering applications, complex geometry, product development, and more sophisticated digital workflows.
Creating a Complete Classroom Workflow
A successful educational project can connect multiple stages.
Students begin with a physical object.
They capture it using a 3D scanner.
They process the scan data.
They develop or modify the digital model.
They prepare the file for the intended application.
If suitable equipment is available, they can then produce a physical result through 3D printing.
This complete process helps students understand how modern digital manufacturing works.
Conclusion
EINSTAR 3D scanning solutions can provide educational environments with practical opportunities to explore three dimensional scanning and digital manufacturing.
Through structured projects, students can learn how physical objects are converted into digital information and how that information can be processed, modified, and used in applications such as 3D printing, personal manufacturing, engineering, product development, and prototyping.
A step based approach can make the technology accessible to learners at different skill levels. Beginners can start with simple objects, while advanced students can explore complex geometry, engineering workflows, automotive applications, and product development.
The greatest educational value comes from connecting scanning with the broader digital workflow. When students can move from a physical object to a digital model and potentially back to a manufactured object, they gain practical insight into how modern design and manufacturing technologies work together.